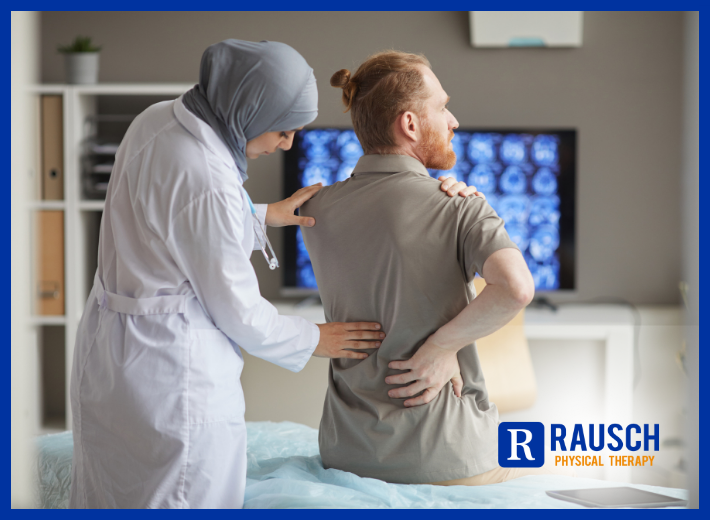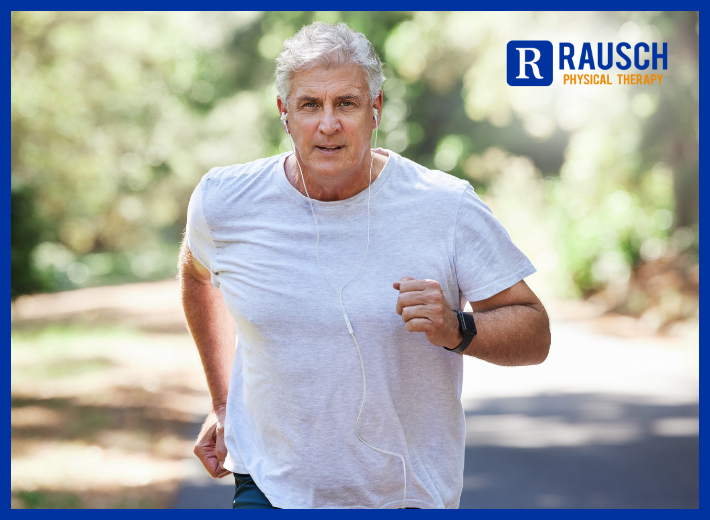
Weaker bones shouldn’t hold you back from an active life! Regular physical therapy can strengthen your bones, improve your balance, and reduce your risk of fractures if you suffer from osteoporosis. Read more and unlock the power of movement for a stronger, more confident you!
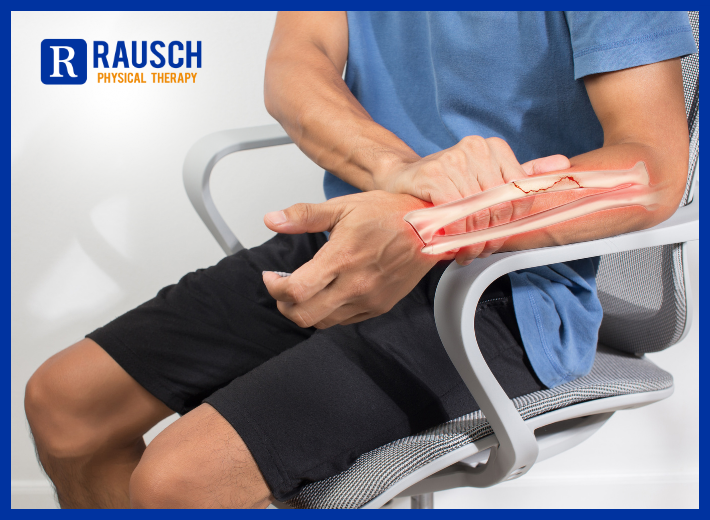
Osteoporosis is a condition that develops from decreased bone mineral density that causes bones to become thin, brittle, and more susceptible to fractures.
While people with osteoporosis should be cautious with everyday activities to avoid breaking a bone, exercising regularly is crucial for increasing bone and muscle strength.
This article will discuss the benefits of physical therapy for osteoporosis, beneficial exercises, what exercises to avoid and finding treatment.
Does Exercise Impact Bone Density?
Bone cells get thicker and stronger in response to beneficial stress from exercise. This response in bone cells is stimulated by:
- Joint reaction forces: Forces from contracting muscles that pull on the bones they are attached to
- Ground reaction forces: Forces through bones (primarily the leg bones) from contact with the ground when standing and moving on your feet, and also in response to completing pushups (for arm bones)
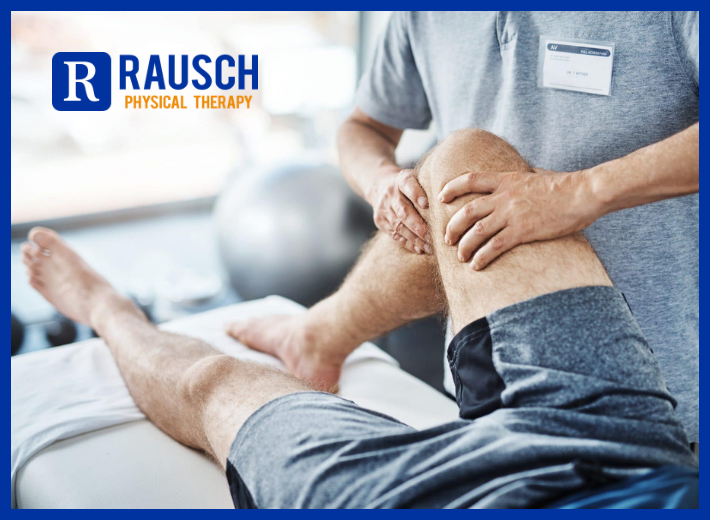
Physical therapy for osteoporosis will involve a selection of therapeutic exercises tailored to your individual needs. These exercises are designed to strengthen key muscle groups that support and stabilize areas of weakness. These exercises protect your bones and improve your balance to decrease your risk of falls.
Misconceptions Regarding Exercise
Pain, fear of falling, and lack of interest are some of the main reasons that prevent people with osteoporosis from exercising but avoiding exercise and physical activity can worsen osteoporosis and increase your risk of breaking bones.
Not being active causes muscle stiffness and atrophy (breakdown), resulting in muscle weakness. This also leads to poor balance and bone weakness, which accelerates bone mineral density loss. Exercise and physical activity are crucial to rebuilding muscles and maintaining adequate bone health.
Who Can Benefit from Physical Therapy?
Bone density naturally decreases over time with aging, especially in people over the age of 65, increasing the risk of developing osteoporosis. Because the female hormone estrogen protects bone cells, the natural decline in estrogen levels that occurs in postmenopausal women also significantly increases osteoporosis risk.
Other risk factors for osteoporosis include:
- Low body mass
- Certain medications, especially prolonged use of corticosteroids
- Low testosterone in males
- Smoking
- Malnutrition
- Vitamin D deficiency or insufficiency
- Excessive alcohol use
- Family history of osteoporosis
People with the lowest bone mass and the lowest level of previous exercise are likely to benefit the most from increased exercise loading (the amount of exercise you’re doing) to strengthen bones.
Physical Therapy Exercises for Osteoporosis

A physical therapist will be able to provide you with an individualized exercise plan tailored to your specific needs following a physical examination.
Although there are no definitive guidelines for the exact amount, intensity, and duration of exercises to increase bone strength, weight-bearing exercises that work multiple muscle groups are generally the most beneficial. Setting goals and choosing exercises you like will help you stick with your workouts over the long term.
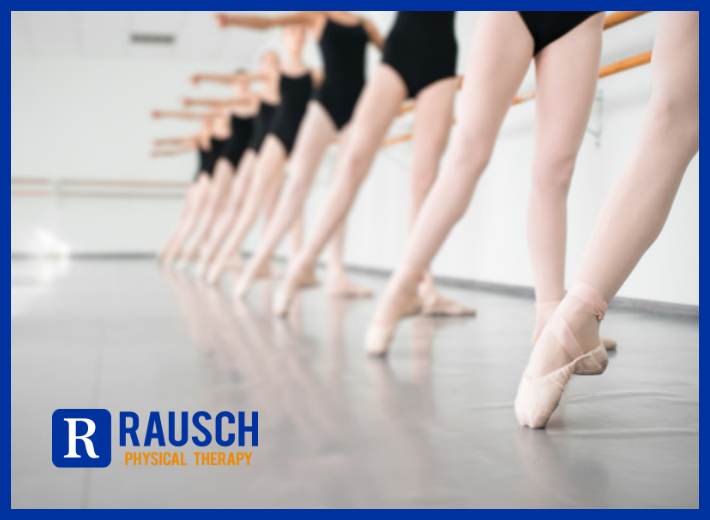
Weight-Bearing Exercises
Weight-bearing exercises are important for slowing bone loss and improving bone mineral density. Weight-bearing exercises also significantly strengthen muscles to work together to stabilize and support joints.
Specific weight-bearing exercises that can increase muscle and bone strength include squats, step-ups, lunges, and jumping rope. Other weight-bearing activities include jogging, hiking, and stair climbing. Note that if you have osteoporosis, you will need to work up to higher-level exercises, such as plyometrics, jogging, and jumping rope.
Participate in any weight-bearing activity you can tolerate, even if you aren’t able to progress to high levels like jogging.
Because bone cells adapt to repeated patterns of loading, such as the force from running, changing your movements and exercises is beneficial. Doing exercises like squats and lunges, changing the weight and angles, can help build bone mass density.
Non-Weight-Bearing Exercises
Non-weight-bearing exercises are those in which your limbs can move freely without being in contact with the ground. Non-weight-bearing exercises isolate specific muscle groups to help improve balance and stability.
Specific non-weight-bearing exercises that can help strengthen the muscles of the legs and arms include:
- Legs: Multidirectional leg lifts and clam shells
- Arms: Bicep curls, tricep pushdowns, shoulder press, lateral raises, and rows
While non-weight-bearing activities like swimming and cycling are good for improving cardiovascular fitness and general health, these types of activities are not specifically recommended for patients with osteoporosis since they don’t do much to improve bone mineral density.
Balance and Flexibility
Good balance is crucial for people with osteoporosis to prevent falls and subsequent risk of fractures. Balance exercises include:
- Standing on one foot
- Standing on an unstable surface
- Sidestepping
- Backward walking
- Forward and lateral step-ups
- Weight shifting in different directions
Flexibility is also important to allow muscles to contract properly within their range of motion, improved range of motion, and joint health. Key muscles to stretch to prevent imbalances and improve strength include hip flexors, hamstrings, quadriceps, and calf muscles.
Movements to Avoid
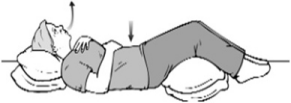
Avoid exercises that involve repetitive bending and twisting, especially when carrying an object, such as sit-ups and crunches, lifting with a bent spine, certain yoga poses and dance movements, and strenuous house and yard work.
These positions increase pressure and friction within the spine, which can cause a fracture. Compression fractures of the spine are also more likely to occur when your abdominal muscles are weak and cannot properly stabilize your spine. High-impact exercises like golfing and tennis, which require forceful twisting motions, are also best avoided.
Where to Find a Physical Therapist
While you may be able to get direct access to physical therapy services without a prescription from a referring doctor, some facilities, especially hospitals, still require a prescription from a healthcare provider to treat you at their facility.
Outpatient physical therapy, which is carried out in private clinics, hospitals, and healthcare providers’ offices, is generally appropriate for most people with osteoporosis, especially for fall prevention or following a bone fracture.
Outpatient centers typically see a high volume of patients, so you must be able to have some level of independence to complete exercises and activities with supervision. If you have difficulty and limitations with mobility preventing you from going to an outpatient center safely, home care services may be a better option for you.
Financial Costs
Physical therapy costs will vary depending on your insurance coverage. The sessions generally are two to three times a week for four weeks. After one month of physical therapy, you will be reevaluated to determine if you need more treatment. Coverage for physical therapy services is typically based on medical necessity.
Additional Support
Having a sedentary (inactive) lifestyle involving sitting or lying down for long periods of time leads to weakness and muscle atrophy, poor balance, decreased bone mineral density, and increased risk of falls. It is important to do something physical every day, even if it is just a light activity like walking around your home, cooking, or cleaning.
Relying on friends and family for social support can keep you motivated to stick to an exercise routine. Starting your exercise routine with the help of a physical therapist can give you encouragement.
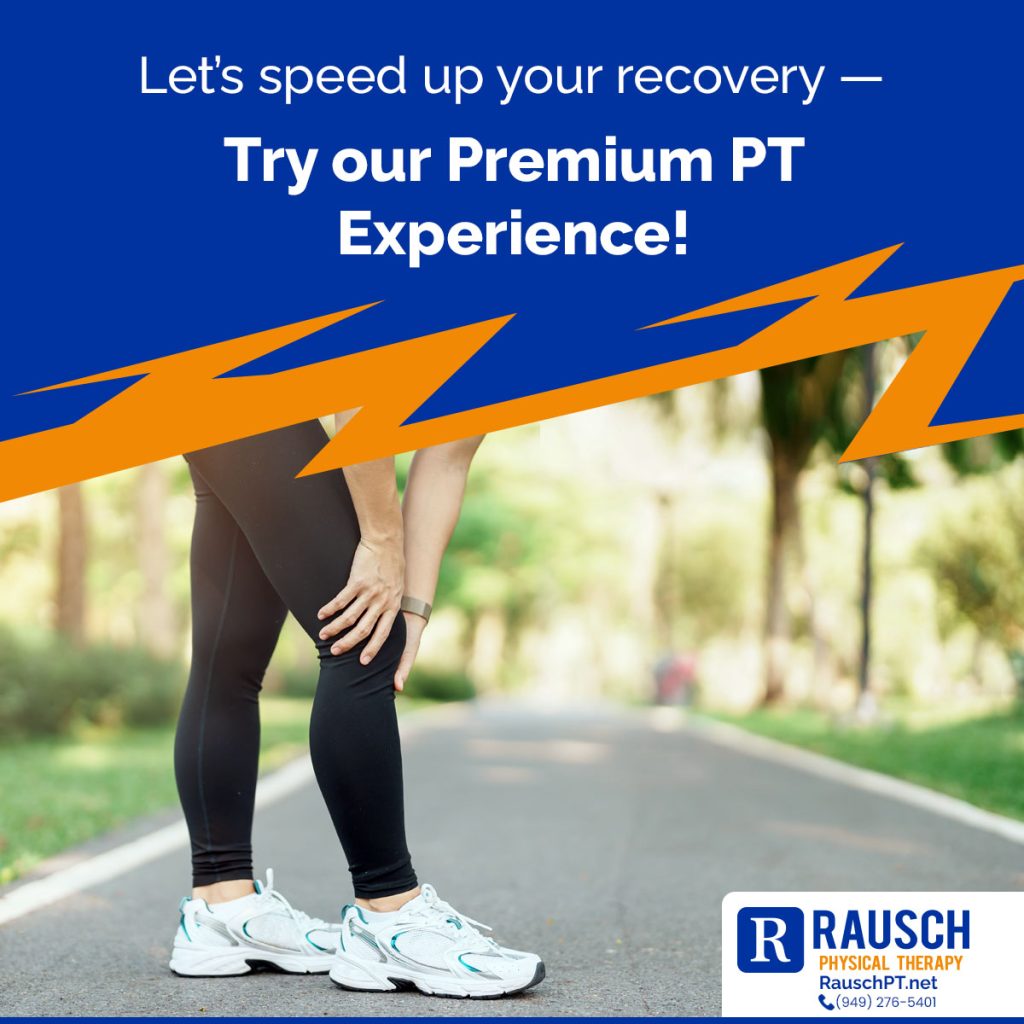
Don’t let osteoporosis limit your life. Take control of your health and embrace an active future with physical therapy. Remember, we also offer Rx Massage support if you need it for recovery and healing. Call us today at 949-276-5401. For more tips, follow us on Instagram.
Reference: [https://www.verywellhealth.com/physical-therapy-for-osteoporosis-5215657]


 Equipment options
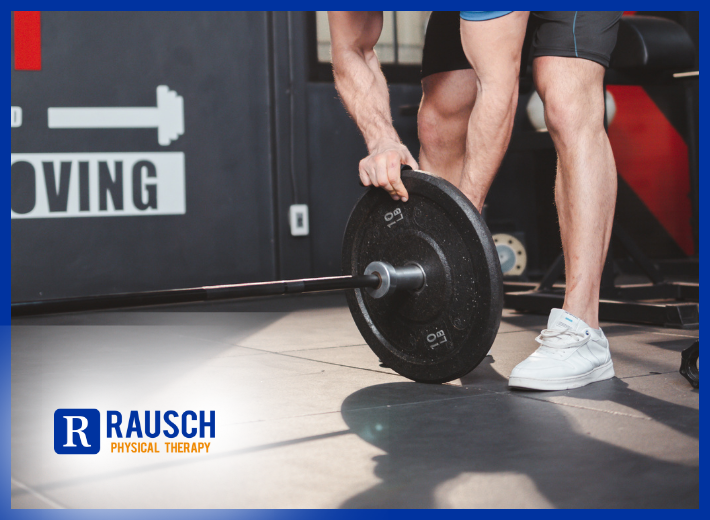 Safety tips