Picnic Bench Stretch Series for Outdoor Runners


Everyone knows it’s more fun to run outside, the same thing goes for stretching! PT Ashley Heller shows how you can use picnic benches to help reduce running pain, avoid chronic injury, and improve recovery time while you’re out on a run.

Ashley-Blog
BY ASHLEY HELLER, PT, MPT, RAUSCH PHYSICAL THERAPY

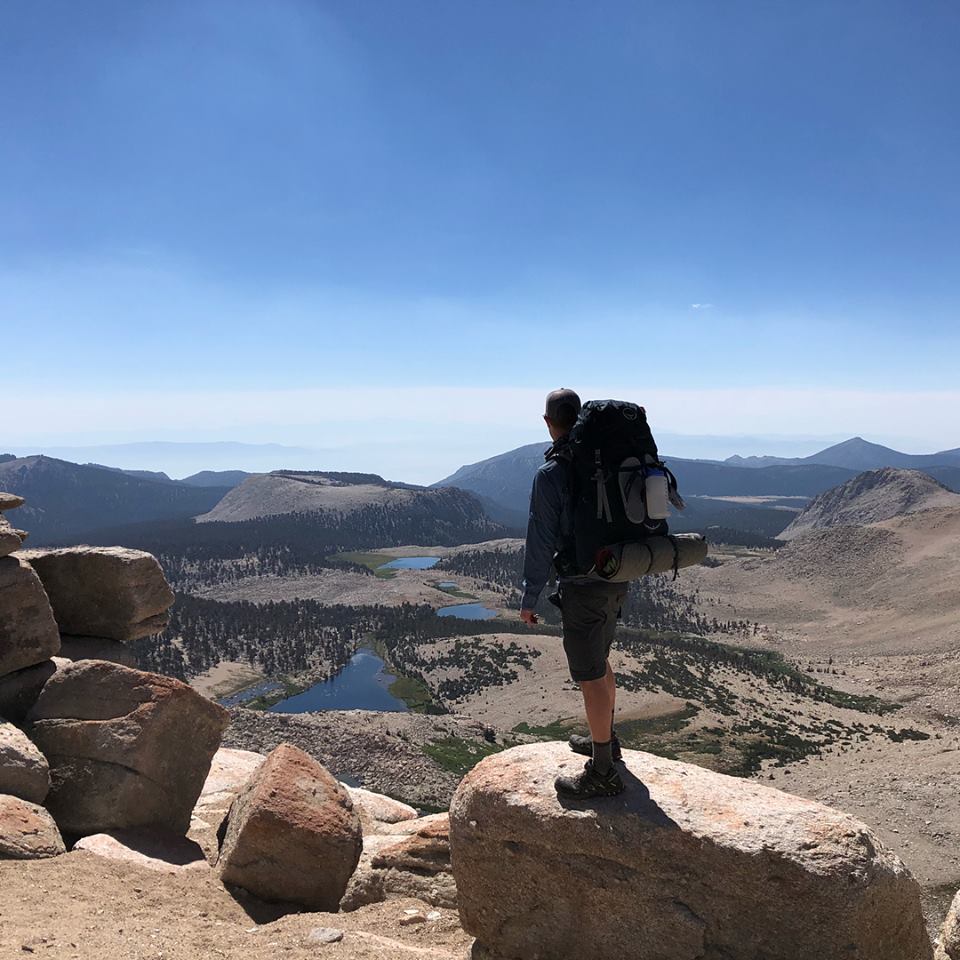
I’m an outdoor gal when it comes to working out. Although I am not competitive runner, running is my go-to outlet for keeping in shape and cross training. For me, running outdoors allows me to recharge, connect with nature, and is one of my favorite ways to cross train and maintain a healthy and active lifestyle.

Whether I’m exploring new trails or running the beach trail, I always make the time to do some dynamic stretches. Dynamic stretching before working out can help improve recovery by minimizing overstrain to tight muscles, as well as improve joint mobility to enhance proper muscle recruitment and minimize compensation that can lead to tissue breakdown and injury. Frequently, I will also stop about one mile into my run to help loosen up even more before finishing the end of my run. Incorporating a few stretches after warming up can be helpful for minimizing discomfort for the duration of the run, improving hip drive while running, and improving overall recovery time.

Since I am usually exercising outside, I love stretching on picnic tables. They offer a good surface for stretching with a variety of heights useful for multiple stretches, plus they are convenient since they are virtually everywhere!

Ashley’s Picnic Bench Stretch Series

Here are my five go-to stretches when I’m running outdoors:

#1 – Quad/Hip Flexor Stretch

Glutes are the driving power for running and propelling the body forward. Lack of hip extension results in decreased running efficiency. Tight hip flexors will limit the ability for the hip to extend and use the glutes. A good hip flexor/quad stretch will allow you to engage your glutes more efficiently.

Cue: Tilt the pelvis like you’re tucking your tail under. Gently squeeze your glute to help relax the psoas and gain a better stretch.

Common mistake: Leaning forward. This results in back extension, not hip extension, which is a common way runners injure their backs.

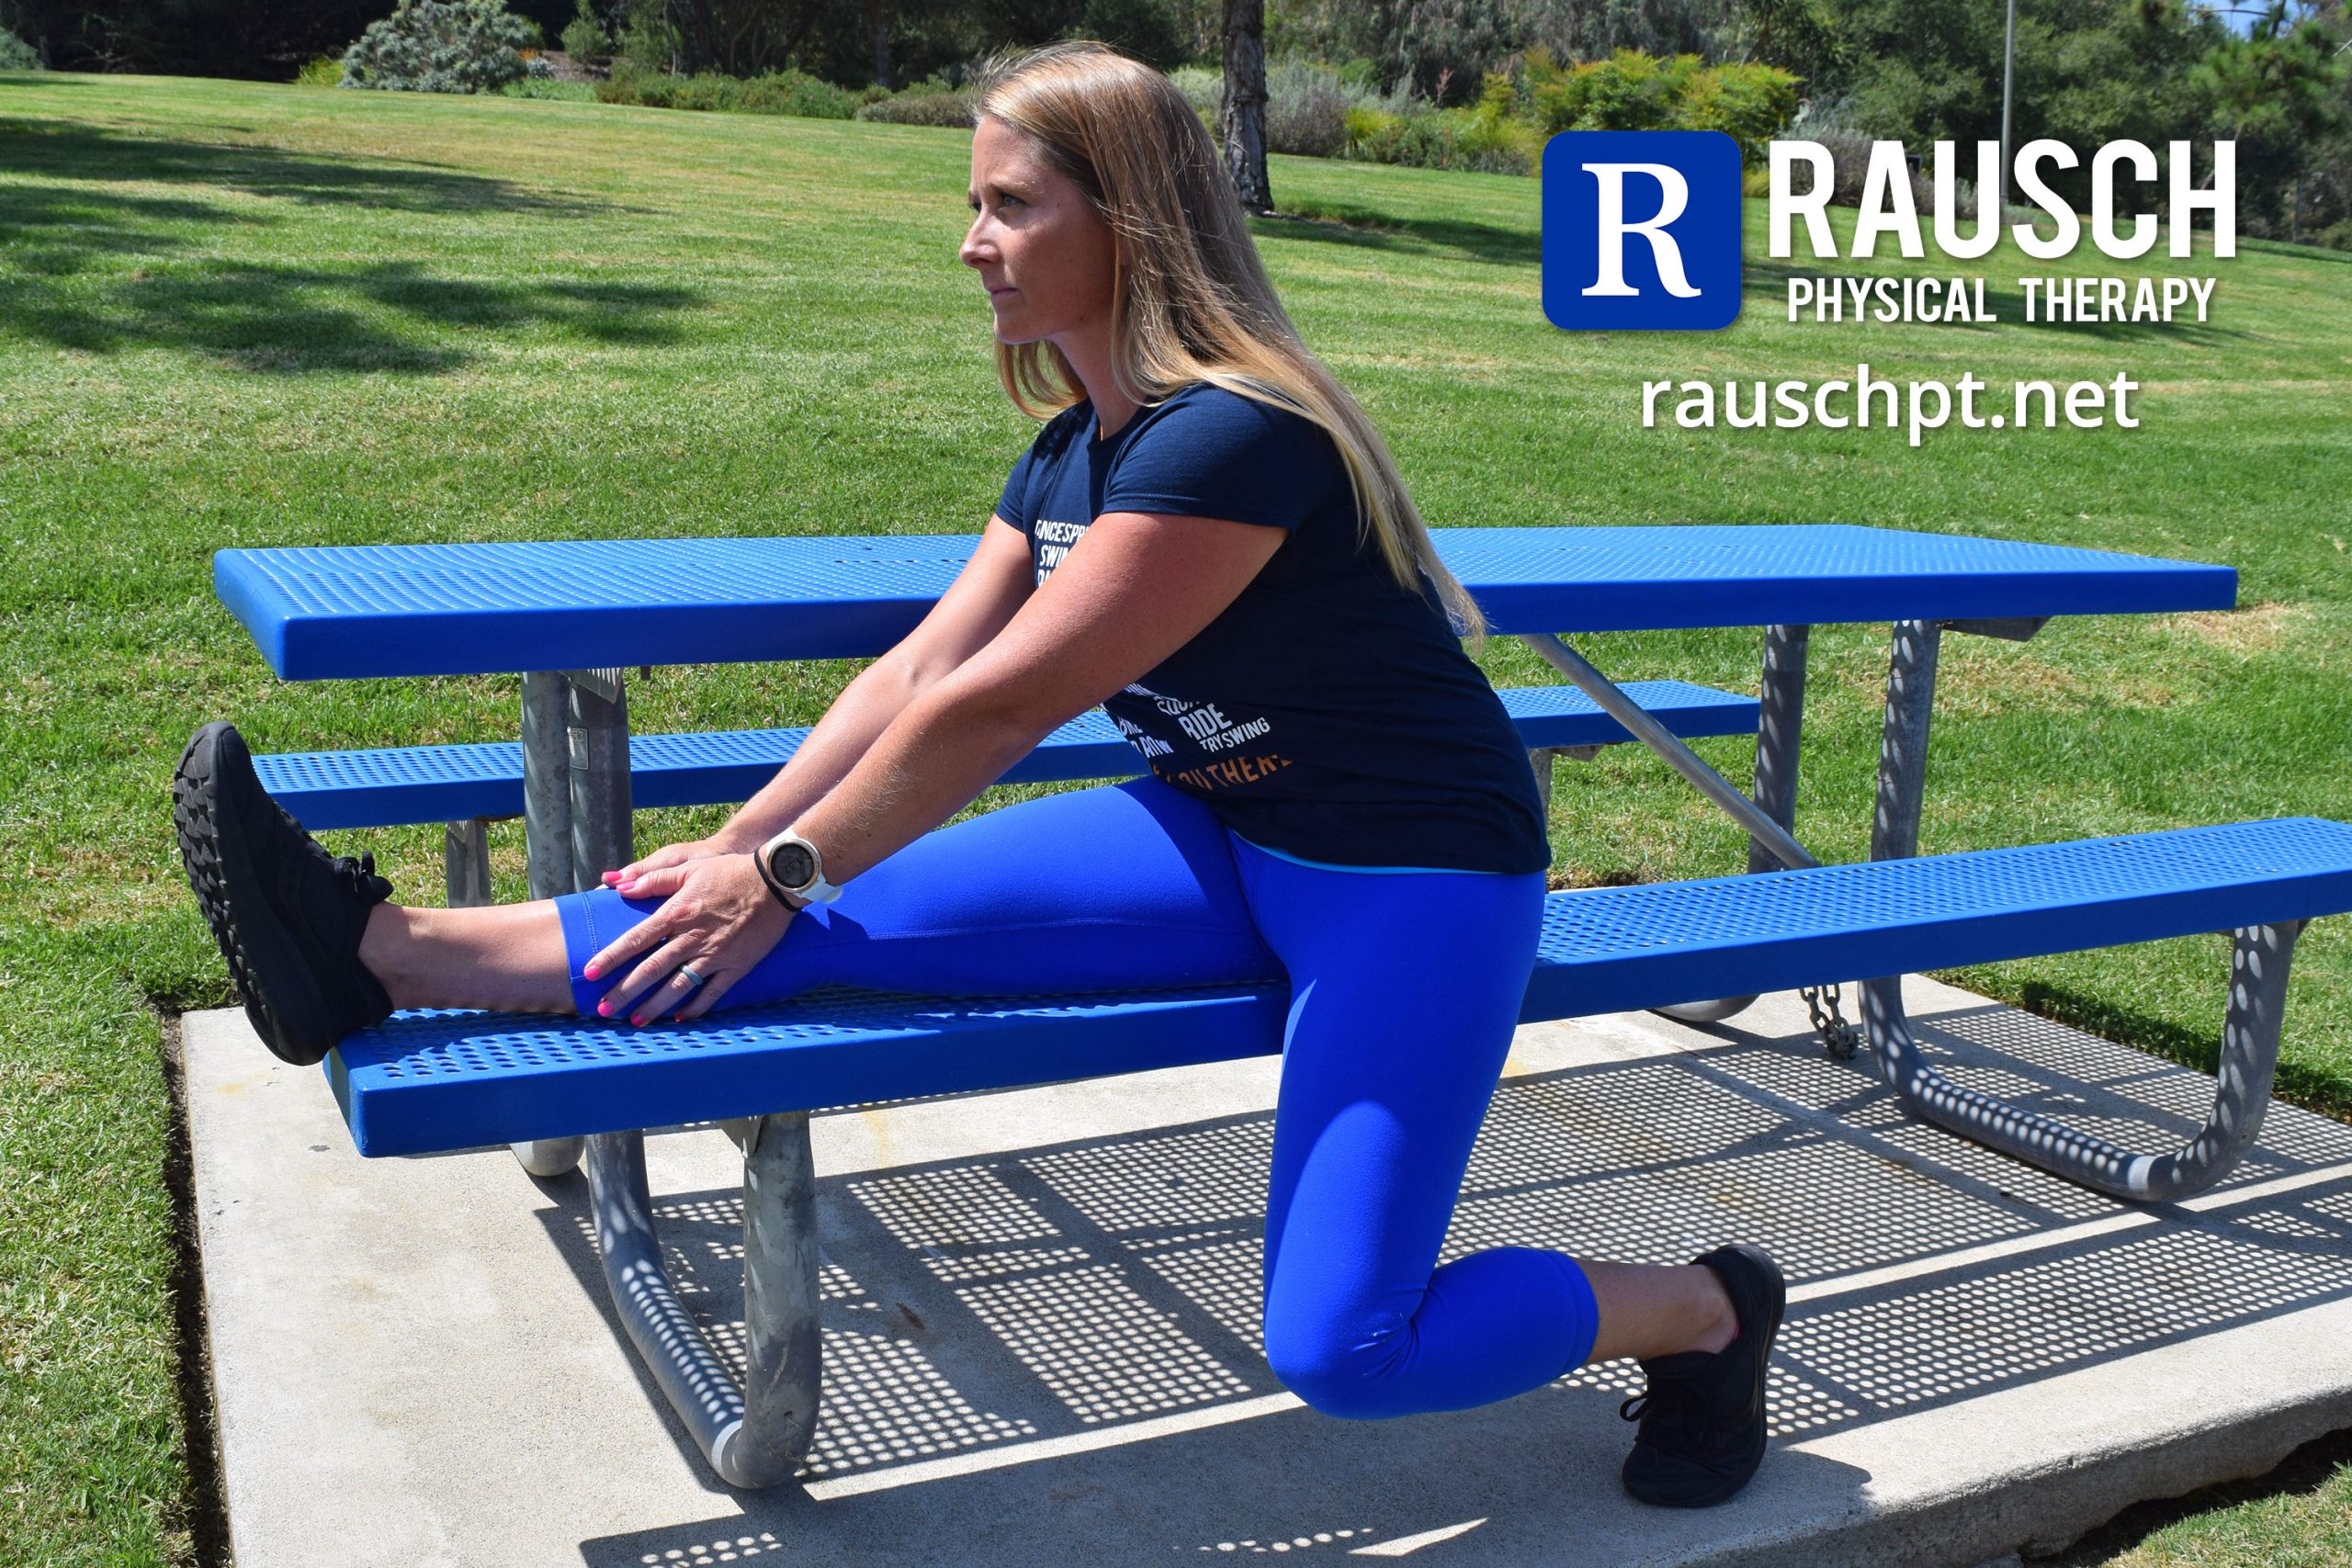
#2 – Hamstring Stretch

Hamstring tightness is often a contributing factor to back pain or hamstring strains. Hamstring tightness can pull the pelvis into a posterior rotation, which deactivates your abs while running and can lead to back pain over time. Adequate hamstring flexibility will also reduce the amount of tension placed on the sciatic nerve and reduce the risk of hamstring strains while running.

Cue: This can also be done as a long duration stretch for 30 seconds to 1-3 minutes.

Common mistake: Over rounding the back when leaning forward.

#3 – Calf Stretch/Prancing

This dynamic stretch is important for both ankle mobility and the elasticity of the calf complex. Calf flexibility is important in preventing calf strains while running. Stiff ankles result in poor shock attenuation can result in injury from the foot up to the back. Poor dorsiflexion mobility will shorten the calf and Achilles complex prematurely and can result in calf strain, Achilles Tendon or plantar fascia injury.

Cue: Start by standing on a curb or bench, hang the heels off and slowly lower the heel below neutral while bending the opposite knee to raise heel. Alternate dropping the heels to ‘prance’ to improve ankle mobility and calf flexibility.

Common mistake: Excessive pronation or flattening of the foot arch.

#4 – Standing Pigeon Stretch

The standing pigeon stretch opens the hip capsule and hip rotators. This will help promote glute activation and hip drive running.

Cue: Begin with one leg crossed over opposite leg. The thigh should be perpendicular to the body while the knee is bent at 90 degrees. Holding onto the table, lean back into a partial squat position while maintaining a flat back. This stretch can also be performed lying supine on picnic table by cross leg over opposite knee, hold thigh behind the non-stretching knee and pull towards chest.

This stretch can also be performed lying supine on picnic table by cross leg over opposite knee, hold thigh behind the non-stretching knee and pull towards chest.

Common mistake: Pain in knee. If there is discomfort in the knee, modify by performing stretch on your back.

#5 – Adductor Side Lunge

This stretch targets the adductors, which are important for medial knee stability. Adductors can be overlooked when stretching but are important to stabilize the knee to prevent injury.

Cue: Using the table, place your foot of the stretching leg on the bench. Lunge away by bending the knee to about 90 degrees, keep your knee stacked over your ankle.

This can also be done as a dynamic stretch without the picnic bench by alternating lateral lunges. Alternate to stretch each side 5 times, hold 2-3 seconds before alternating.

Common mistake: Going too deep. Knee not stacked over ankle.


PT-Headshots-AshleyAshley Heller, MPT is a licensed physical therapist at Rausch Physical Therapy & Sports Performance. She received her Masters of Physical Therapy degree at California State University, Long Beach and is passionate about working with patients with shoulder, knee and ankle injuries. With background in orthopedic-related injuries and post-operative rehabilitation, Ashley believes that the combination of manual therapy and personalized therapeutic exercise program is vital to recovery. Known as the Water Sports PT, Ashley says her goal is to help her patients better understand their injuries and the plan for their road to recovery.

Click to learn more about Ashley and our other physical therapists »


The Best Pillow Position for Avoiding Morning Neck Pain


Do you wake up with a stiff or aching neck every morning? Your pillow could be the culprit! PT Amanda Hurst breaks down pillow position 101 and shares her fluffy recommendations so you can get your best sleep and better morning.

Amanda-Blog
BY AMANDA HURST, PT, DPT, ATC, RAUSCH PHYSICAL THERAPY

Do you wake up with a stiffness, pain or discomfort in your neck? It could be due to the position of your pillow. That’s right, your pillow is your friend and deserves to be used correctly! The purpose of a pillow is to support the weight of your head, which on average weighs about 11 lbs.

When your head is properly supported by your pillow, your neck muscles are allowed to relax or turn off, which means no muscle tension or pain in the morning. Here’s a simple four-step pillow check to help you rest easy:

  1. If your shoulders are ON the pillow, your head will be NOT be supported! This creates increased neck extension shortening or tightening of the neck muscles, nerve impingement, and stiffness in the vertebral joints.
  2. Tuck your pillow into the crevice of your neck and fully relax into it.
  3. Your head should be in a neutral position, not too extended or too flexed forward (have someone check or take a picture for you.)
  4. If your pillow does not allow your head to be in neutral, either go buy a new one or fluff that sucker up!


Click to enlarge

What is the best pillow?

If you like your pillow and it doesn’t cause pain once you make sure you’re using it correctly, then keep it! If you make the adjustments above and you’re still waking up with stiffness, nerve symptoms or pain, it’s time to try a new pillow.

  • Down or alternative-down is recommended
  • Avoid foam pillows; they have a natural resistance that can cause your neck muscles to activate to combat that resistance while you’re sleeping
  • No, you do not need to spend your life savings on the newest, fanciest pillow. There are some great, affordable options that won’t break the bank and will still help you achieve that neutral position you need for a great night’s sleep and pain-free morning.

Here are some of my personal favorites:


Amanda Hurst, PT, DPT, ATC graduated from Concordia with her degree in Exercise and Sports Science and became a certified athletic trainer in 2010. She went on to receive her doctorate in physical therapy in 2013 from Chapman University and has been practicing as a licensed physical therapist for the past five years in a variety of physical therapy settings, including hospital and private practice outpatient, acute care, and lab assisting. Her love of sports led her to Rausch Physical Therapy & Sports Performance, where her goal is to return all her patients back to their sport, recreational activity or hobby, and to keep our community active, healthy and happy.

Learn more about Amanda and our other physical therapists »

Making the Summit: How I Conquered Altitude Sickness While Hiking Mount Whitney


As a life-long outdoor enthusiast and doctor of physical therapy, PT Sean Swopes knows how dangerous and difficult high-altitude hiking can be for many people. Sean shares the unique way he prepared his body to battle the elements (and dreaded altitude sickness) while crossing off an item from his bucket list: summiting Mount Whitney.


BY SEAN SWOPES, PT, DPT, CSCS, RAUSCH PHYSICAL THERAPY

On July 16, I sought out to make a journey into the wild with my brother and father. The plan was to spend five days and four nights hiking our way north through the Eastern Sierras. Our experience would peak at the summit of Mount Whitney, reaching an ultimate elevation of 14,508 feet.

Anyone who’s done any amount of physical activity, whether it be hiking or cycling, will tell you that being at altitude changes everything. I’ve seen some of the most aerobically fit people fall apart once they’re at altitude. Having taken many trips to the Sierras throughout my life, I’ve learned this fact the hard way.

The months leading up to the hike, my main concerns were the distance and elevation. My main training modality was casual and competitive mountain biking, and while it did give me a big push for my cardiovascular training, I knew that alone wouldn’t prepare me for the 50+ miles I’d be walking with 50 pounds strapped to my back at 10,000+ feet.

Training Your Body to Adapt to Stress

Fortunately, during this trip, I felt great with no major signs of altitude sickness. I attribute this to not only mountain biking, but competitive mountain biking. The key difference is the extreme of how competition pushes the body to its limits. I hadn’t done any extensive altitude training within the weeks leading up to the trip, however I had taken my body—physically and aerobically—to it limits by racing at the Over the Hump series nearly every week this summer. That’s exactly what I was going to be putting my body through summiting three, 14,000+ feet mountains: Mount Langley, Mount Muir and Mount Whitney.

As a physical therapist, I like this concept of pushing your body to its limits as a training philosophy. I view the body as an instrument with a threshold of tolerance. As people age, their body tends to develop imbalances, weakness and stiffness, which decreases their body’s threshold for biomechanical stress (i.e. running, jumping, climbing, etc.) Consistent competitive racing forced my body to adapt and increased my body’s threshold, which enabled it to withstand more physical and aerobical stressors on my hike.

Still, there was one large unknown variable to conquer: altitude.

At high elevation, less oxygen can be inhaled per breath, which can cause hikers to experience early onset fatigue, or worse, altitude sickness. For most people, this takes effect when they get above 12,000 feet. To ensure my success at altitude, I got to the mountains three days early and went on two training hikes at 9,000-11,000 feet and slept at 8,000 feet; this allowed my body to acclimate.

The Challenge of Summiting Mount Whitney

If you look at Mount Whitney from the city of Lone Pine, just below the mountain range you’ll see two small peaks with a large peak just to the right. At the base of the two smaller peaks you are roughly at an elevation of 13,500 feet with 1,000 feet of elevation to gain over a distance of two miles. This is where most people feel the extreme effects of altitude, including my brother. He was hit with nausea, fatigue and a pounding headache, forcing him to turn around and head back to base camp.

With even more determination now, my father and I continued our ascent. It wasn’t until the last half-mile that he was met with his final challenge. The altitude was taking its effect on him, but luckily he wasn’t experiencing any other symptoms other than extreme fatigue. His body would feel fine at rest, however any physical exertion would drain his energy instantly. It was slow-going that last half-mile while he was forced to take breaks every 10 feet of hiking the variable rocky terrain, but in the end we both prevailed, reaching the summit and our goal destination at 14,508 feet.

The toughest endeavors always make the most memorable experiences. Think of your body as an instrument you are constantly fine tuning. Preparing for those tough, yet memorable life adventures to the top of any “mountain” in your life.

Nothing in the world is worth having or worth doing unless it means effort, pain, difficulty… I have never in my life envied a human being who led an easy life. I have envied a great many people who led difficult lives and led them well.
― Theodore Roosevelt


Sean Swopes, PT, DPT, CSCS graduated from CSU Fullerton with a bachelor of science in kinesiology. He went on to receive his doctorate in physical therapy in 2015 from University of St. Augustine, and began his career here at Rausch Physical Therapy and Sports Performance. Sean is also a certified Strength and Conditioning Specialist. As a physical therapist, Sean’s goal is to help his patients understand their musculoskeletal impairments and work together to improve them.

Learn more about Sean and our other physical therapists »