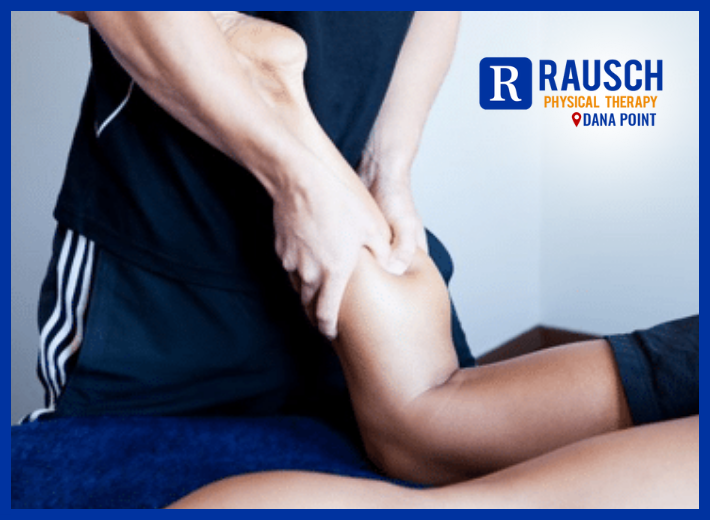

As we step into a new year filled with resolutions and aspirations, prioritizing our health is more crucial than ever. And few things are as fundamental as maintaining a healthy back. Join us at Rausch PT as we kick off the year by debunking eight myths about back pain. We can offer you solutions to alleviate and prevent back pain, with targeted exercises, therapeutic techniques, and expert guidance to restore mobility, strengthen muscles, and promote a pain-free, active lifestyle. All supported with Rx Massage, should you so desire!
8 common myths about back pain
Back pain is more common than homeownership in the U.S. While about 65% of adults own a home, nearly 80% of adults will have back pain at some point. Despite how common this type of pain is, some myths persist.
Get the truth about these eight common back pain myths:
Myth: Lifting heavy objects is the primary cause of back pain.
Myth: Bed rest will make my back pain better.
Fact: Probably not, but it depends on the cause of your pain. If your back pain is due to a muscle strain, taking it easy for a few days may help. However, in other cases, bed rest can make back pain last longer or even worsen it. If your pain is nerve compression, a disc issue or joint degeneration, inactivity can lead to tightening of muscles and worsening pain, the loss of physical condition and more debility. In those cases, I recommend that people modify their activities, switch to low-impact exercises like walking and swimming, and avoid movements that could worsen pain like bending, twisting or lifting.
Myth: Back pain is caused by sitting on a fat wallet.
Fact: Frequently sitting with a large wallet in your back pocket can cause leg or hip pain and numbness, but it doesn’t usually cause back pain. A large wallet can compress your sciatic nerve and tilt your pelvis. The sciatic nerve is the largest in your body, and it branches from the lower back through your hips, buttocks and down each leg. Compression of the nerve causes pain or numbness while sitting or driving. After sitting for a long time, you may find walking difficult or feel pins and needles in your leg. If you’re bothered by symptoms, take over-the-counter anti-inflammatory medications and remove your wallet from your back pocket. Many times, these steps resolve the issue.
Myth: Back pain is always due to a serious underlying condition.
Fact: Back pain is usually caused by muscle strains or sprains, not by a serious condition like a disc or vertebrae issue. Most back pain resolves on its own without requiring extensive medical intervention.
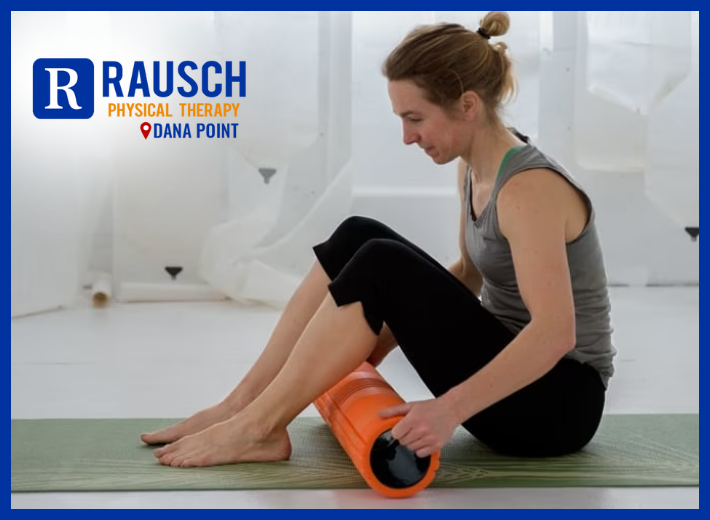
Myth: Exercise should be avoided when experiencing back pain.
Fact: In most cases, exercise and physical activity are recommended for managing and preventing back pain. Strengthening the core muscles, improving flexibility and maintaining a healthy weight can all contribute to a healthier back. Again, modification of these activities may be required depending on your pain. Listening to your body is important. You know your body best. If something is progressively worsening or not getting better and you’re worried, always contact a health care professional to get evaluated.
Myth: Surgery is the only solution for chronic back pain.
Fact: Back pain is often caused by issues that aren’t relieved with surgery. Non-surgical treatments like physical therapy, medications, injections and lifestyle modifications are often effective in managing and reducing chronic back pain.
Surgery may be necessary if you have pain that:
- Intensifies, especially at night or when you lie down.
- Spreads down one or both legs.
- Causes weakness, numbness or tingling in one or both legs.
- Occurs with new bowel or bladder control problems.
You should seek an immediate medical evaluation if you have weakness, numbness, pain or are losing control of your bowels or bladder.
Myth: A firm mattress is the best for alleviating back pain.
Fact: The ideal mattress firmness varies from person to person. Some people may find relief with a firm mattress, while others may prefer a medium or soft mattress. When shopping for a new mattress, look for one that provides proper support and comfort based on your preferences and needs. Also, many companies offer generous return policies so you can try a mattress for a few weeks, or even a few months, before deciding if it’s right for you.
Myth: Poor posture doesn’t contribute to back pain.
Fact: Many people spend hours staring at a computer while slouching rather than sitting at attention, or focused on cellphones that draw the eyes down and curve the neck. These habits can strain muscles and joints, causing body pain over time. Practice good posture habits and take advantage of ergonomic office equipment to help prevent and alleviate back pain.
Some back issues can’t be avoided, like those caused by injuries, arthritis or genetics.
Yet, there are things you can do to preserve the health of your back, including:
- Maintaining an ideal body weight.
Excess weight causes increased stress on all joints, including the spine. - Strengthening your core.
Stronger core muscles, including abdominal and intrinsic back muscles, can help offload stress on your spine. - Staying active.
Regular movement is essential for keeping your body active.

 When I took up running in college, a friend of mine scoffed at the idea. He hated running and was convinced runners were “wearing out” their joints. He liked to say he was saving his knees for his old age.