Hip pain is a common issue, especially as you age. About 14% of adults over 60 report having pain in or around their hip joint.1 Bone fracture, muscle strain or tear, infection, and arthritis are some of the reasons your hip might hurt.2 Depending on the cause, the pain can be short term (acute) or long term (chronic).
Whatever the cause, it’s important to address and manage your hip pain. Hip pain can impact your ability to walk and function, significantly affecting your quality of life. Luckily, there are treatments and preventative measures that can help.
The hip joint is a ball-and-socket joint connected to the lower trunk of your body. The hip joint, lined with cartilage, connects the pelvic bone to the top of the femur (thigh bone). Groups of muscles and tendons surround the joint. Hip pain arises due to problems in and around the hip joint, including the surrounding muscles and tendons. These include:
- Gluteal muscles, muscles of the buttocks, which lie to the back of the hip
- Abductor muscles, found in the inner thigh
- Iliopsoas muscles, also known as hip flexors, which move across the abdomen and connect the lower spine to the upper thigh
- Quadriceps, the four muscles of the front of the thigh
- Hamstrings, the muscles of the back of the thigh, running from the hip to below the knee
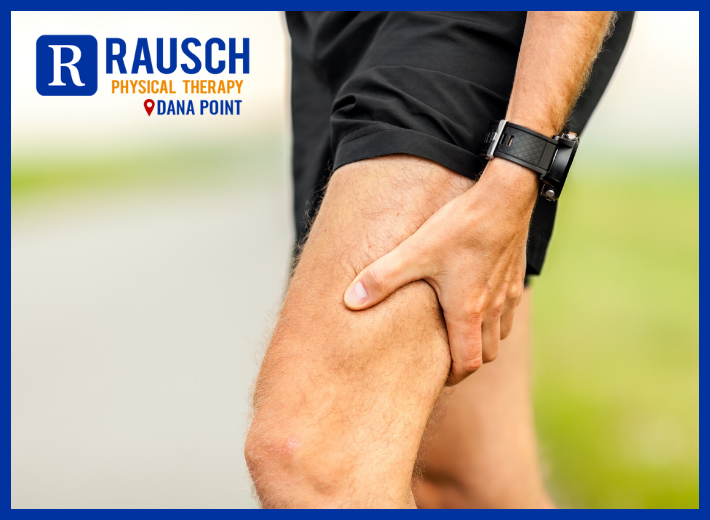
The exact location of the pain depends on which part in or around your hip is affected. You can experience anterior hip pain, which is pain felt toward the front; posterior hip pain, which is pain coming from the back of the hips and buttocks; or lateral hip pain, which is pain on the side of the hip.
Healthcare providers also classify hip pain based on duration. Short-term pain problems are considered acute, while persistent pain is considered chronic.
A wide range of conditions can cause hip pain. These include injuries and diseases that impact the joint, tendons, ligaments, or muscles of the area.
Arthritis occurs when there’s inflammation and swelling in the joints. Arthritis in the hip is a leading cause of hip pain among older adults.
Arthritis of the hips causes chronic pain at the front of your hip and in your groin. You can also have muscle stiffness. Hip arthritis symptoms get worse when you’re standing or bearing weight.
If you fracture, or break, your hip bone, you could feel serious pain. A fall or accident leading to hip fracture can cause sharp, acute pain and inflammation.
Because your bones get weaker as you get older and there’s an increased risk of falls, people older than 65 are at increased risk for hip fracture.
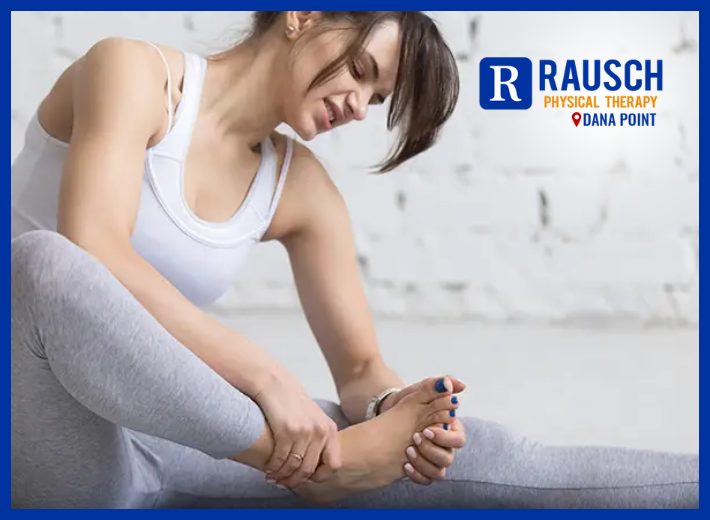
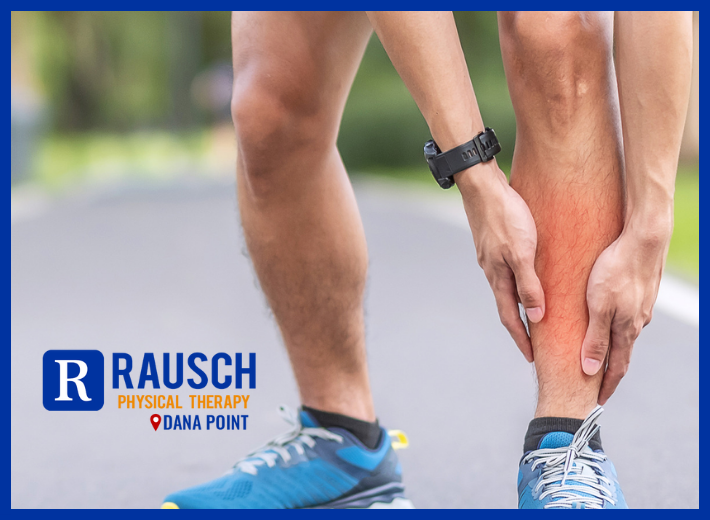
Muscle strain occurs when muscles are overstretched, become damaged, or start to rip. One type of muscle strain is hip flexor strain. Your hip flexors are a group of muscles at the front of the hip that allow you to move your leg and knee up toward your body.
When one of these muscles is strained, you can feel pain at the front of your hip. The pain can range from mild cramping and tension to severe pain. You might also experience muscle spasms, bruising, and swelling.
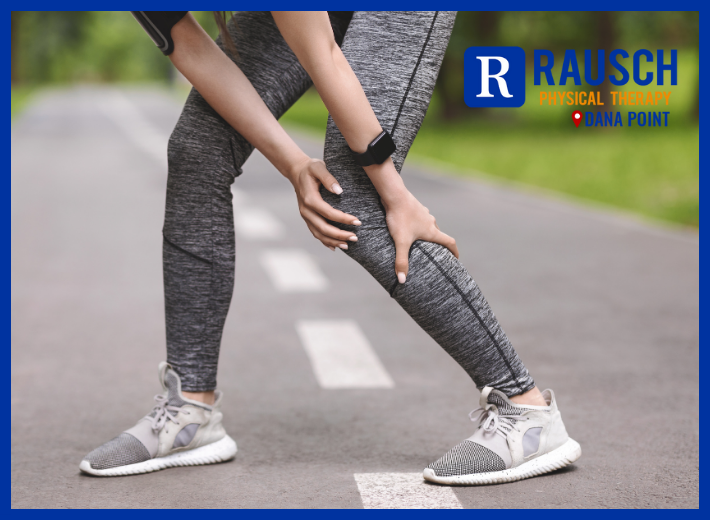
Hip flexor strain is an injury often affecting athletes who participate in sports with sudden movements.
Hip bursitis is an inflammation of the bursa, which are fluid-filled sacs that surround the hip joint. Most commonly, bursitis affects the bony part of the hip called the greater trochanter. Known as trochanteric bursitis, the pain from this type of bursitis spreads from the pointed part of the hip to the upper thigh. The pain is sharp at first and worse when standing up, sitting, or driving. The pain can then turn into duller aches across broader portions of the hip area.
Iliopsoas bursitis, commonly known as snapping hip, is a rarer type of bursitis that arises due to inflamed bursa on the inside of the hip (by the groin). This type causes pain in the front of the hip as well as the groin.
Infection of the bone or fluid around the joints can cause hip pain. Two types of infections common in the hip joint are septic arthritis and osteomyelitis. Bone and joint infections like these arise as bacteria, viruses, or other pathogens spread due to blood infection (sepsis), trauma sites on the bone, or as a complication of surgery. Septic arthritis affects the hip joint, whereas osteomyelitis localizes more on the hip bone itself.
The risk for osteomyelitis or septic arthritis is higher among people with a chronic health condition and children who are younger than 5 years old.
Besides pain, other symptoms include swelling, fever, mobility difficulties, and chills.
Insufficient blood supply to the hip causes the bones to die, a process known as osteonecrosis. Osteonecrosis can occur due to injury or disease and can severely irritate the hip joint, leading to arthritis. Symptoms include gradually worsening pain in the hip and groin that’s present at rest and gets worse with activity.
Several factors raise your risk of osteonecrosis, including:
- Excessive alcohol use
- Steroid use
- Sickle-cell anemia, a blood cell disorder
- Lupus, an autoimmune disorder
- HIV/AIDS
- Cancer
- Radiation or chemotherapy
The labrum is thick cartilage sitting in the socket of the hip joint that offers a buffer from impact. When your labrum tears, the pain affects the groin and can spread to the side or front of the hip as well as the buttocks and knee. Setting in either immediately due to injury or gradually, the pain can be dull or sharp, often worsening with activity.
Femoroacetabular impingement, or hip impingement, is when there is irregular bone growth on the head of the femur (the ball of the hip joint) or on the acetabular (the socket of the hip joint). The irregular bone shape causes the two bones to rub against each other when you move. Over time, the rubbing can damage the joint. The damage can cause pain in the groin and side of the hip, limiting mobility. The pain can be sharp when squatting, turning, or twisting. Sometimes the pain is a dull ache.
If you’ve had a fall or serious athletic injury, you should get immediate medical attention. You should also get immediate care if your leg is bleeding, bruising, or deformed or if you have severe difficulties with walking, moving, or bearing weight.
If you’ve received care for your hip pain or are managing the pain at home, the signs you should contact your healthcare provider include:
- Pain that continues for a week, despite treatment
- Fever
- Skin rashes
- Sudden onset of hip pain with sickle-cell anemia or frequent steroid use
- Difficulty climbing stairs, standing up, walking, or performing daily activities
- Limping or loss of range of motion in the leg
To treat hip pain, your healthcare provider will first need to figure out the cause. In addition to asking about your symptoms, they’ll likely assess your medical history, including any family history of hip problems, as well as any medications you’re taking.
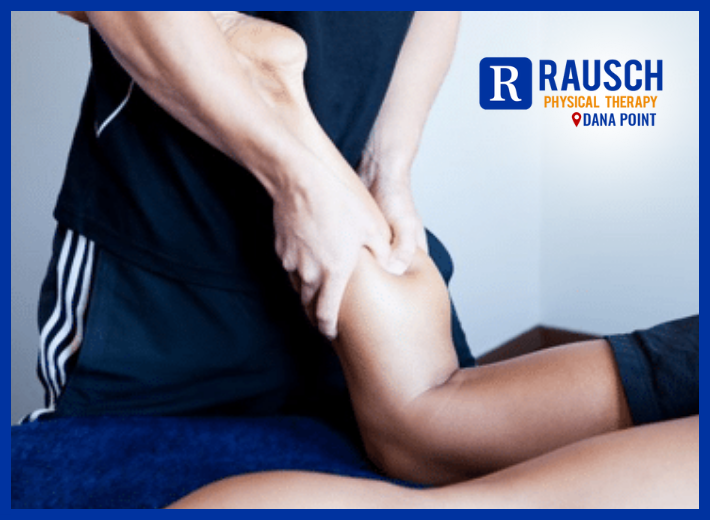
In addition, they’ll probably perform a physical evaluation. This involves squeezing or putting pressure on affected areas; analyzing how well you’re able to walk; and assessing your ability to perform leg raises, certain stretches, or other motions.
In some cases, your healthcare provider will need imaging techniques like X-ray, ultrasound, or magnetic resonance imaging (MRI) to identify the cause of pain or assess the scope of any damage. With joint pain, assessing responses to pain-killing injections can also help identify the cause.
The specific course of the treatment of hip pain depends on the underlying cause. Treatment can involve home management techniques, medications, physical therapy, surgery, and alternative medical approaches.
In the first 48 hours after an injury, healthcare providers recommend RICE. This involves:
- Rest: Avoid putting pressure on the affected leg and hip to prevent aggravating any injury.
- Ice: Apply ice-packs wrapped in a towel to the affected area for 20 minutes every three or four hours.
- Compression: Wrap affected areas in compression bandages or wear compression garments to put pressure on the affected area.
- Elevation: Lie down and keep your hips elevated above your heart. Doing so affects blood flow in a way that can help with swelling. This should be regularly in the early recovery period.
With persistent pain, don’t sleep on the affected side, and try putting a pillow between your legs if you are a side sleeper. Wear flat shoes that have cushioned insoles, and avoid standing for long periods of time.
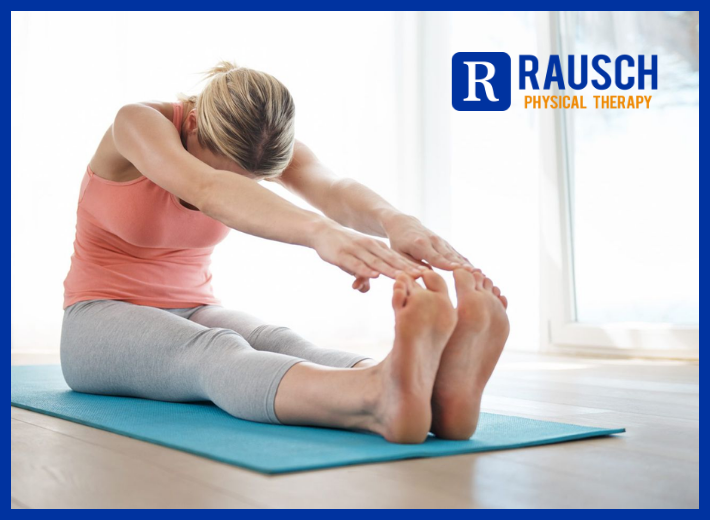
Especially if the pain is caused by muscle strain, your healthcare provider may recommend certain stretches and exercises to promote recovery. These focus on several muscle groups, including the hip flexors, the gluteus maximus and medius of the buttocks, and the hamstrings on the back of the thigh.

 Injury
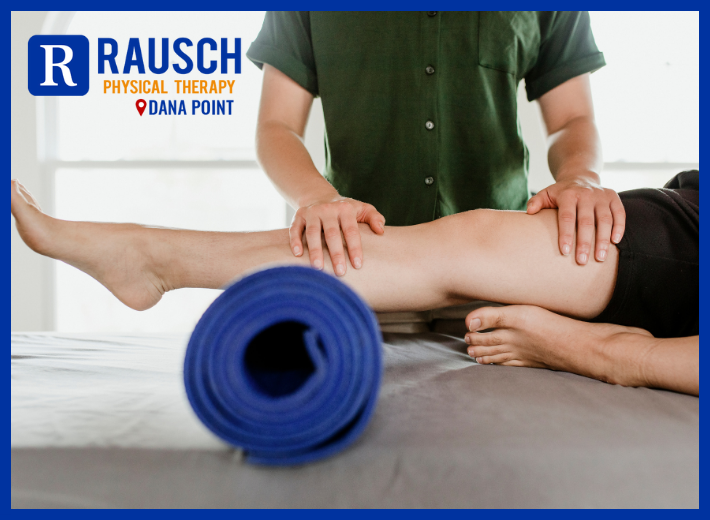 Medications
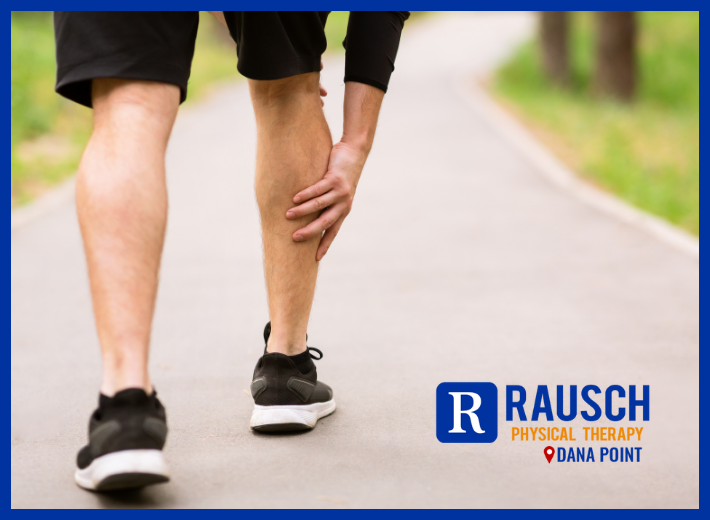
 Symptoms
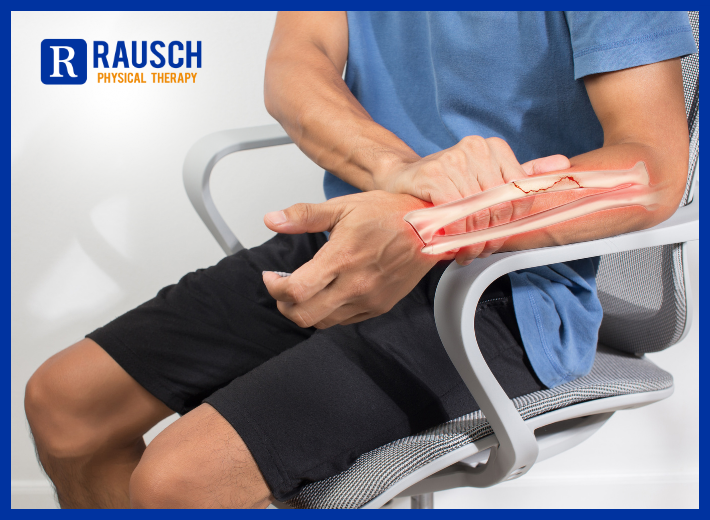
 Equipment options
 Safety tips

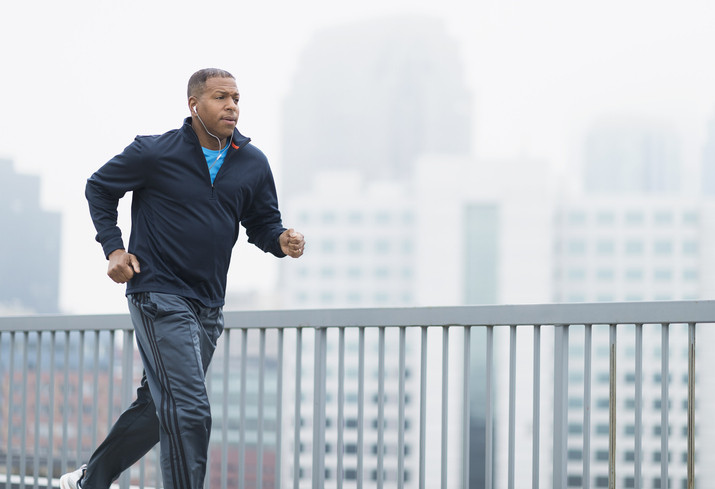 When I took up running in college, a friend of mine scoffed at the idea. He hated running and was convinced runners were “wearing out” their joints. He liked to say he was saving his knees for his old age.